

So I took this piece of plastic shade and decided that I was going to decoupage some fabric on it. I wanted it to still transmit light so I bought a shear fabric from the clearance rack at Joann's. It was still $5/yd, but I only needed a half yard so I figured what the heck.

 Step 1 - Lay lamp plastic flat, right side up. Apply mod pod glue to the whole thing. Then attach the fabric. You need to be kind of quick about this so that your glue is still tacky.
Step 2 - Pull the fabric gently and smooth it so that there are no wrinkles.
Step 3 - cover the top of the fabric with glue and coat it until the fabric is fully saturated. Smooth the glue in one direction making sure that there aren't any drips of clumps. Let sit over night

Step 5 - Apply glue on the plastic and wrap the fabric around the back. Apply more glue on the top making sure to smooth out all the wrinkles as you go. Let the glue dry over night again.

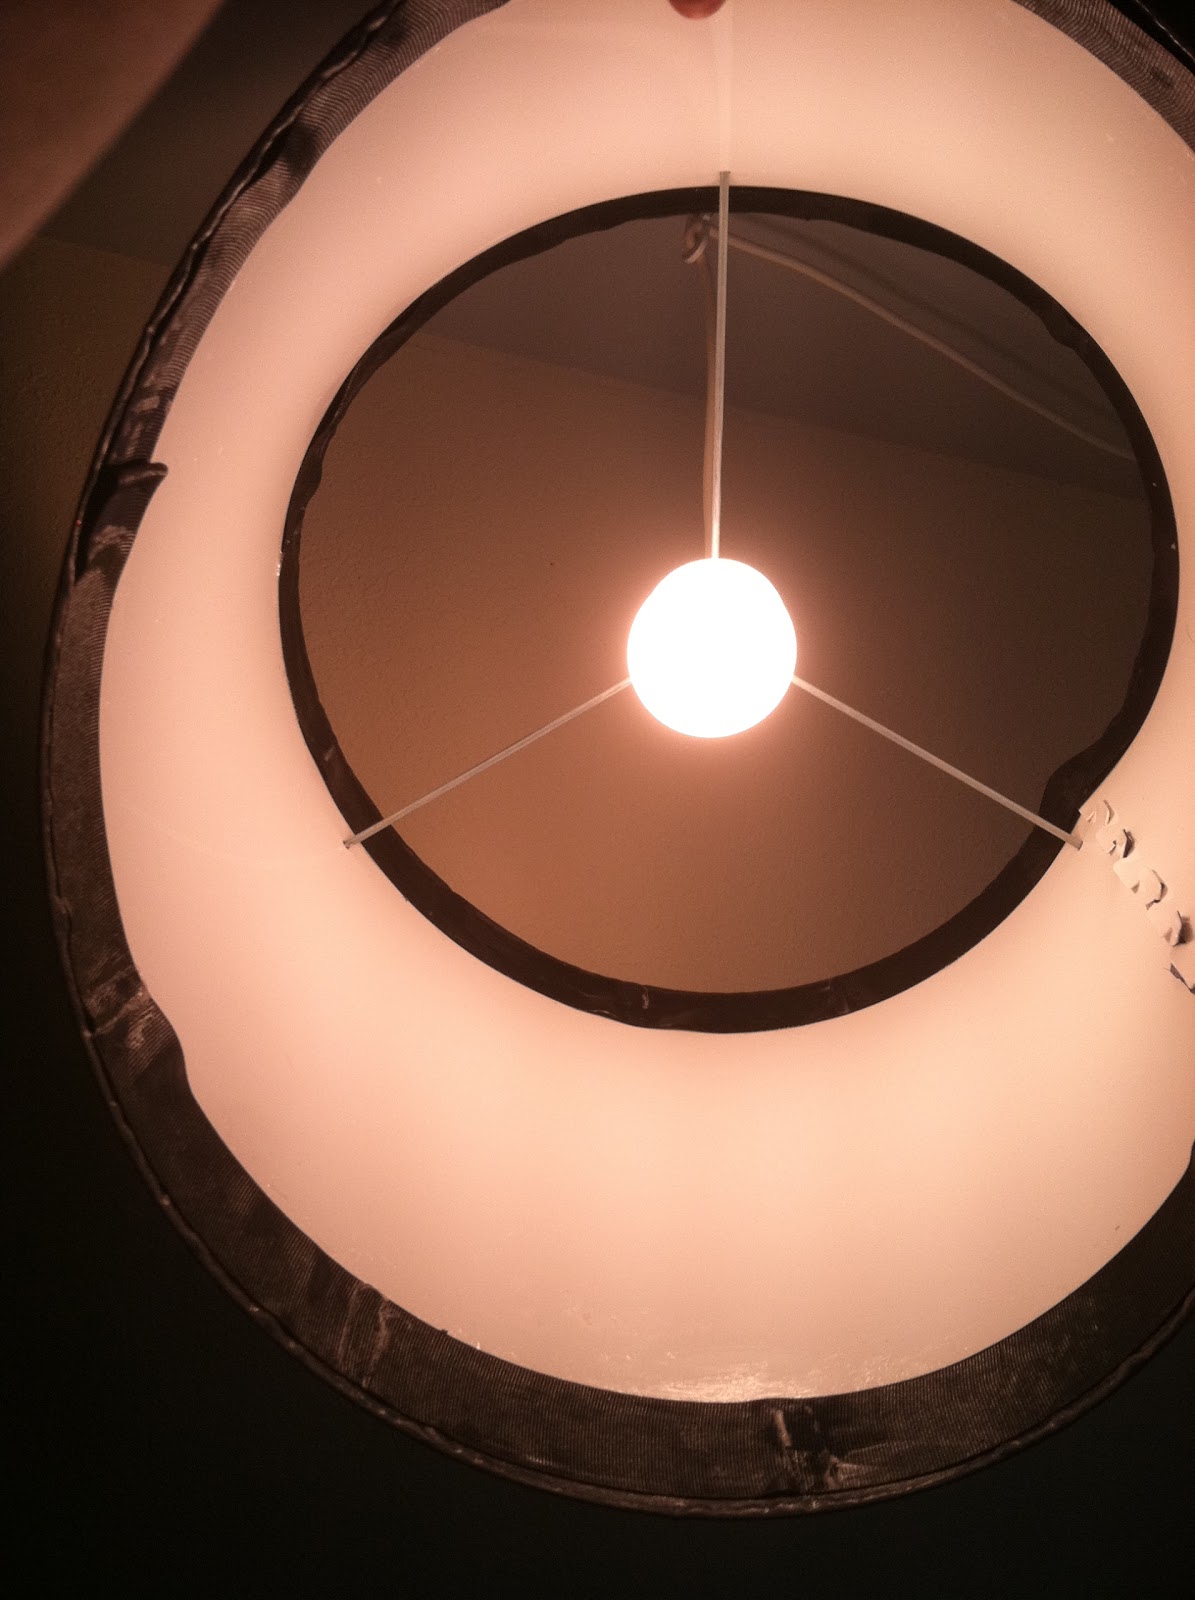
Step 7 - Assemble the shade
 Step 8 - Cut ribbon for the top and bottom of the shade. You can apply this on the inside or the outside of the shade depending on the effect that you want, but I wanted to cover up my frayed edges on the inside of the shade. Apply a layer of glue to the plastic shade. Use paper clips to secure the ribbon at approximately 4" on center and then apply glue over the top of the ribbon. Make sure that you do not paint over the paper clips otherwise you will end up with globs of glue like I did. Oh well you live, you learn. Apply the ribbon at both the top and bottom of the shade and allow the glue to dry.
Step 9 - Remove the paper clips and apply one more coat of glue to the ribbons. Allow this to dry.
Step 10 - Assemble the lamp with the metal hardware that it comes with and viola you have a new custom lampshade.


This is a great tutorial.. LOVE the outcome..What an awesome blog,,Im officially following ya with smiles.. Found ya blog hopping and had to stop in.. So much creativity dwells here.. Im Marilyn via http://theartsygirlconnection.blogspot.com ..Hope you can stop in sometime..TY
ReplyDeleteThanks Marilyn. I will definitely check out your blog. I love crafting and making stuff. I am doing my first craft show in the Denver area in December. I am really nervous.
ReplyDeleteGreat idea-don't you just love how you get to assemble all things IKEA?
ReplyDeleteIkea is so much fun. It is great how the simple things that they have allow you to inexpensively put your own twist on it. I think I am going to repeat this for some lamp shades in my bedroom.
ReplyDeleteWhat an inspiring article! This lampshade idea is absolutely beautiful and adorable. The design is perfectly awesome. This is indeed great as home decor. I really love the elegance and style. Lampshades are indeed great for interior decoration. Thanks for sharing this post. I would love to try making this so soon.
ReplyDelete-http://www.fenchelshades.com/