Tuesday, October 18, 2011

Jewelry Desk

I have way too many interests for my own good.  Until last week my jewelry making stuff was all spread out on our coffee table in our TV room.  It was insane.  There were beads and tools and wire everywhere.  It was very stressful to walk down there and do anything, let alone try to create something.  I have been brain storming about a solution for weeks and finally I came up with it.  We live in a town house and we do not have a ton of room.  It seems like we live in such a small space sometimes due to my many interests and it seems that all of those interests need to have their own private space.  So the idea that I came up with was to transform the shelf that I have holding all of my craft baskets into a table/desk area for me to work.  This shelf is located in our back storage room in the basement.  It has a concrete floor, which is perfect for doing my torch work.  I haven't had the space to try that yet so I am pretty excited about this new space and all the new possibilities.  Plus all I have to do is close the door and it all is put away.

 Here is the room prior to my desk addition.  The shelf has all of these dividers and then a trim piece on the front.  I first had to create a flat surface for me to attach the cantilever support beams to.  The front finish piece was 1.5" wide and the divider pieces were .75" thick.  This meant that I needed (4) 3/8" thick pieces of wood on both the interior supports (one each side) and (2) .75" thick pieces on exterior supports.  I measured the depth of the cabinet and went to work cutting the pieces that I needed using a circular saw.

 I then attached these pieces to the inside of each of the supports directly below the shelf.  Make sure that you stagger the screws on each side so that they all go in smoothly.  Also make sure that you are using a screw that will not poke through on the other side of the divider.
Next I cut the cantilevered elements that will support the desk surface.  I determined that I needed about 20" under the desk and then I needed the length to attach it to the shelf, so I cut (2) 2x4 that were 36" in length, (4) 1x4 that were 36" in length.  Using a jig saw I rounded the edges of the wood members.  I used the first one as a template for the rest.


 I already told you that the finish pieces on the shelf were 1.5" wide.  It just to happens that a 2x4 is also 1.5" wide so I cut an additional short 2x4 piece that I placed between the 1x members that are going to go at the center supports.  I contoured this with the adjacent members so that it would look nicer and make the pieces work together.  At this point it is probably a good idea to tell you that I am a structural engineer, so if I am getting too detailed it is not my fault just my nature....Back to the project.  I sandwiched the short 2x between the 1x's and screwed them together making sure that the tops of them were aligned.
Next I attached the cantilevered wood pieces to the shelf unit.  I used (6) 2" long screws to attach all the members making sure to mark where the other screws were going to be located so that they would not run into one another.
 In the next picture you can see how the center cantilevered wood members sandwich the center supports on the shelf.  There are screws attaching it on both sides.

 And finally I put on the table topper that we has laying around the house.  You can use a smooth finish wood door.  I think that this was a table top thing that Aaron got a long time ago from Ikea.  I screwed it into the supports below and called it good.  If your door or table topper is hallow like this one is try to keep any screws that you are using within 1.5" of the edge.  There is a solid piece there that you can screw through, but be gentle regardless.

I hope that you enjoyed my project and even if you do not have something to repeat this exactly I hope that you can learn something from the idea.  And if you have any questions about doing this to a piece of furniture in your house I would be happy to try and brainstorm with you so that we can come up with a solution.

Take care.

Kara

Thursday, October 13, 2011

Canning Apples

I just started canning last year and find it so much fun.  It is a lot of work but worth it to have healthy and chemical free stuff for your family to eat.  This tutorial is a method used so that there is no waste from the apples.

Get your supplies ready:

  • (7) Quart Jars with self sealing lids and screw rings - sanitize in dishwasher prior to using
  • (3 or 4) Pint Jars with self sealing lids and screw rings - sanitize in dishwasher prior to using
  • Apple peeler (the crank handle kind are easy and fast to use)
  • Jar grabber (to pick up the hot jars)
  • Lid lifter (has a magnet to pick the lids out of the boiling water where you sanitize them
  • Jar funnel
  • At least 1 large pot to blanch the apples
  • Large spoons and ladles
  • 1 Water Bath Canner (a huge pot with a lifting rack to sanitize the jars of apple after filling)  You CAN use a large pot instead, but the canners are deeper, and have a rack top make lifting the jars out easier. If you plan on canning every year, they're worth the investment
  • Food mill 
  • Blender
  • Butter knife
Gather your ingredients that you will need
  • Approximately 20 lbs of Apples, ask when you buy them for a good baking apple
  • Cinnamon
  • Nutmeg
  • Ground or whole cloves
  • 3 cups of sugar
  • Lots of water
I am going to lay out the steps in order, so just follow the steps straight down.  If you have the multi-tasking gene in the kitchen then more power to you.  After you go through the process once you will see that there are several of these things that you can be doing at once.  But I will leave that to you.


Step 1:  Wash the apples
Step 2:  Peel and slice the apples (SAVE the peels and the cores)


Step 3:  In stock pot (preferably with removable strainer/steamer) mix together one cup of sugar with 7 cups of water (double or triple the recipe to bring the water level above the strainer).  Bring to gentle boil.


Step 4:  Place about 6 cups of the sliced apples in the boiling water and blanch for 3 to 5 minutes.

Step 5:  Remove apples from boiling syrup and ladle into jars using the funnel.  Use smaller spoon to press the apples into the jars.  Leave 1/2" head space.

Step 6:  Spoon syrup into jar.  Use a knife to slide down the side and remove any air bubbles.  Adding more liquid as required to fill the jar and leave about 1/2" of head space.


Step 7:  Wipe jar mouth clean from any debris with a clean towel.  Place lid on jar and screw the cap tight.  Repeat this process until all of your seven quart jars are full.

Step 8:  Process the jars.  Place all the jars in the canning rack and lower into the water.  The water should come up to at least the neck of the jar.  If the water covers the jar then that is ok too.  Process the jars according to Pickyourown.org based on your elevation and canner.

Step 9:  Remove the jars from the canner and place on the counter over night.  Check the jars the next day by pushing on the top.  If you hear a pop and are able to push down then your jars did not process correctly.  Repeat steps 7 and 8.

Step 10:  To make the "No waste apple sauce" - Cut all cores into cubes, you can leave on the stems, seeds and everything.  Place cores and peels in microwave safe flat casserole dish with lid (You might have to do this in several shifts depending on the size of your microwave and casserole).

Sprinkle apple debris with cinnamon, cloves, and allspice  (Remember a little goes a long way).  Pour a small amount of the syrup (used earlier) over the pan (about 1/2 cup).  Microwave for 10-15 minutes until the apples are soft.

Step 11:  Remove from microwave and place everything in the blender.  Blend until smooth.  You can add small amounts of syrup if you want, but make sure that it is not too runny.

Step 12:  Place the blender concoction into the food mill and turn the mill so that the contents are being deposited in a bowl below.  Use the mill plate with the smallest holes.  Keep spinning until the mixture left in the top of the food mill is pretty much dry and really chunky.  This process separates all the good stuff from the gross stuff.  Repeat Steps 10 to 12 until all the cores and peels are used up.


Step 13:  Spoon the apple sauce into the pint jars using the funnel.  Place lid on jar and screw the cap tight.

Step 14:  Process the jars according to Steps 8 and 9.  Note:  I did not sanitize the correct size jars in the first place, so I just improvised and used what I had sanitized already, but the this amount of apples will make four pint jars of apple sauce.

Now you should have 7 quart jars of apples and 4 pint jars of spiced apple sauce.  Use the jars of apples for apple pies, apple crisp, pork chops, meat loaf, dump cake, muffins, ice cream topping, cobbler, apple cake, or any other thing that you can think of.

Enjoy the season.

Kara


Thursday, October 6, 2011

DIY custom lampshade

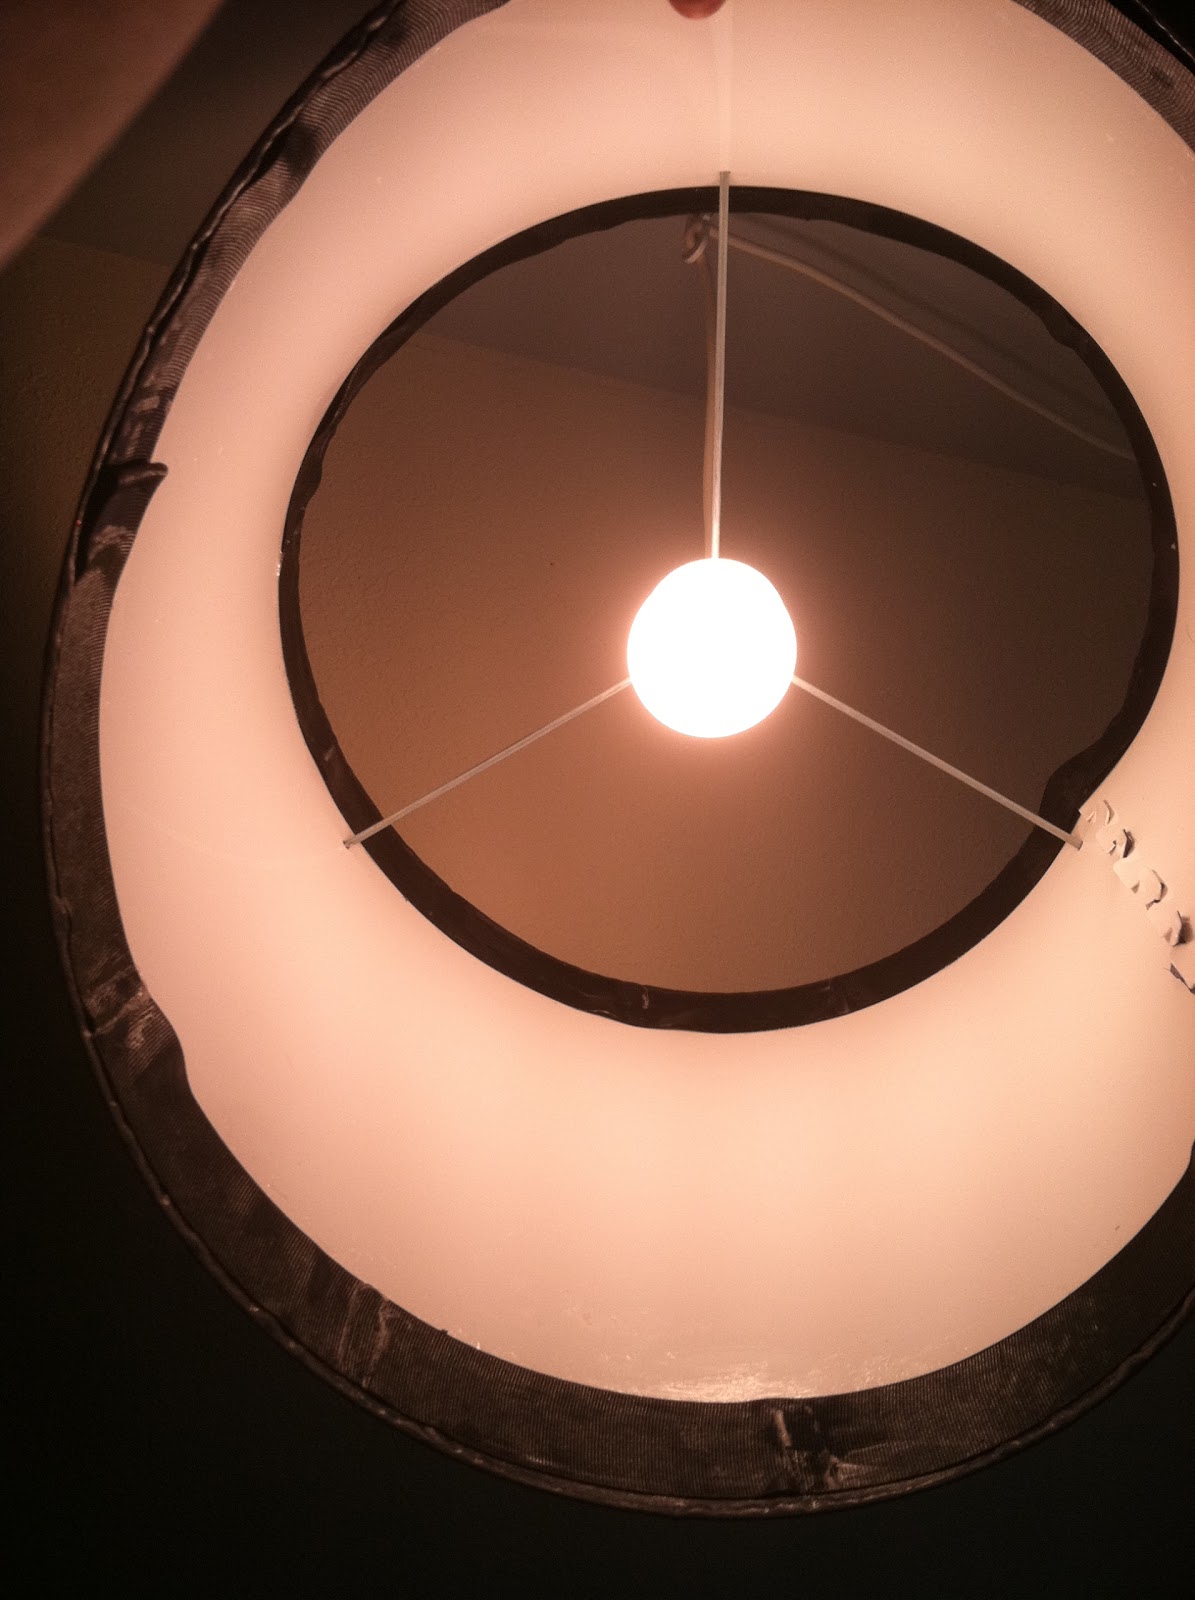
I wasn't quite sure what type of lamp shade that I wanted in the spare bedroom when I bought this lamp shade, but I knew that I did not want to spend a lot of money on it.  So here is my $11 lamp shade.  I went to IKEA and bought this lamp shade that comes flat and then you attach the puzzle piece ends together and then it becomes this perfectly cylindrical thing ($6).  Ignore the arm fat in the picture above.  I am thinking that I am going to be posting a weight loss "bridal bootcamp" soon to take care of that.  LOL.

So I took this piece of plastic shade and decided that I was going to decoupage some fabric on it.  I wanted it to still transmit light so I bought a shear fabric from the clearance rack at Joann's.  It was still $5/yd, but I only needed a half yard so I figured what the heck.

Step 1 - Lay lamp plastic flat, right side up.  Apply mod pod glue to the whole thing.  Then attach the fabric.  You need to be kind of quick about this so that your glue is still tacky.


Step 2 - Pull the fabric gently and smooth it so that there are no wrinkles.

Step 3 - cover the top of the fabric with glue and coat it until the fabric is fully saturated.  Smooth the glue in one direction making sure that there aren't any drips of clumps.  Let sit over night

Step 4 - After allowing the front side glue to dry you can flip over the piece.  Trim the edges neatly, leaving about an inch to wrap around to the back side.

Step 5 - Apply glue on the plastic and wrap the fabric around the back.  Apply more glue on the top making sure to smooth out all the wrinkles as you go.  Let the glue dry over night again.

Step 6 - Neatly cut the remaining fabric from the ends so that you can make the cylinder shape out of the plastic shade.

Step 7 - Assemble the shade

Step 8 - Cut ribbon for the top and bottom of the shade.  You can apply this on the inside or the outside of the shade depending on the effect that you want, but I wanted to cover up my frayed edges on the inside of the shade.  Apply a layer of glue to the plastic shade.  Use paper clips to secure the ribbon at approximately 4" on center and then apply glue over the top of the ribbon.  Make sure that you do not paint over the paper clips otherwise you will end up with globs of glue like I did.  Oh well you live, you learn.  Apply the ribbon at both the top and bottom of the shade and allow the glue to dry.

Step 9 -  Remove the paper clips and apply one more coat of glue to the ribbons.  Allow this to dry.

Step 10 - Assemble the lamp with the metal hardware that it comes with and viola you have a new custom lampshade.


Sunday, October 2, 2011

Day 3 Highlights and the final Surprise

Sunday we went on a nice drive.  First we went to the beach at Bodega Bay.  At this beach the roadway sat up really high above the water and there was a cliff dropoff.  We had to walk down this really steep and slippery embankment to get down to the water.  When we got down the hill we took off our shoes and walked up the beach a ways.  There were tons of surfers in the water.  Scattered on the beach were seaweed flower remnants that had washed up on shore.  The video below is Aaron playing with one of them like a whip.  The sand was super soft and the water was freezing.

 There were these crazy little birds that were eating stuff in the sand that had been washed up by the surf.  It was so funny to watch them because they all would run away from the water each time that a wave came in.  And then as the water rushed back out they would frantically start pecking at the sand and chasing the water back out.  They just kept doing this over and over again.

 There were a bunch of dead jelly fish washed up on the shore as well.  They were about the size of a softball and looked like a breast inplant thing.  They looked weird and I did not know if it was ok to touch them so I just kept my distance.  This little guy still had his tentacles attached.  They weren't very long, so I am not sure what that means.  I have heard however that the bigger the jelly is that the less of a punch that it packs.

After our drive out to the shore we took all the back roads back to Napa.  It was so pretty driving through the country side.  We saw tons of apple orchards and pumpkin patches.  We stopped in hippie towns and had a lot of fun seeing the country.  After arriving back in Napa we met up with Jay again and went to the Miner, Folie a Duex, and Silverado wineries.  All very different wines and very different atmospheres.  Loved it.  Next I knew that Aaron had made dinner reservations for us somewhere, so we abandoned Jay and went to go have dinner. 

We parked in town next to this market that we had gone to the day before.  This market had a nice restaurant and so I was pretty excited to go there, when Aaron started walking in the opposite direction.  I had no idea where he was taking me but it didn't take long to figure out that we were walking towards the train station.  We were going on a dinner train ride up the valley.  I was sitting in the lobby waiting to board the train and listening to the guy give his spiel  about the history of the train.  He said that they just built this bridge outside on the way to the train platform and decided to do something called a "love lock" with the bridge.  Apparently this is a big thing in Europe.  What you do is you have a pad lock that symbolizes your love and you close the lock on the bridge and throw away the keys.  This way your love is locked forever.  So I immediately jumped up and went back into the gift shop to buy one of these silly locks.  Aaron engraved it with our names and the date. 

  We locked the lock on the bridge and then headed out to our fun train ride. The dinner was amazing.  We started out with a meat, fruit and cheese plate.  Then we had a salad with walnuts and goat cheese and other goodies.  Next came the Italian ice stuff to "cleanse the palate".  For our entree Aaron got the lamb (gross) and I got the yellow tail something or other.  Aaron claims that his was delicious, but eating a baby I am not really sure how that is possible and mine was melt in your mouth good.  The fish was such the perfect choice.


 After dinner this man walked by us on his way to the dessert car.  As he was walking he knocked over a class at the table across from ours.  It was really hard to walk in a straight line on the train.  Aaron got up and set up the glass.  I thought that he was going to come over and sit with me so I started clearing off the chair next to me.  Instead he moves the chair out of the way, starts pulling something out of his pocket and gets down on one knee.  This all happened so quickly and I started crying.  I knew what was coming.  Aaron grabbed my right hand and started to say "Kara Jones will..." and I interrupted him and told him that he had the wrong hand.  He grabbed the other hand and said " Kara Jones will you marry me?"  I was crying so hard at this point that I was not even able to answer him I just grabbed him and hugged him and shook my head yes into his shirt.  He said I take that as a yes and I pulled away from him and told him that yes I would marry him.  I was laughing an crying.  By this time more people are walking by us on the train and they realize as Aaron is sitting halfway out in the aisle that he just proposed to me.  And they are all ooohhing and ahhhhing.  It was so funny.  About this time our waitress comes back and she asks if she just missed something.  Aaron told her what happened and she started crying.  She was so sweet and came over to give me a hug.  It was a really nice romantic moment and setting for the two of us.  I am so happy that I am going to be Mrs. Brown.  I could not have made a better choice in a lifelong partner.
 
We have been talking for the past year on what we want to do for a wedding. We met on a camping trip where we 4wheeled to the top of Mt. Bross.  This is a 14er in the central part of Colorado.  We thought that it might be fun to take the whole family and whoever else can make it and drive to the top of Mt. Bross get married come back down and do a big reception and party in Alma.  So the tentative plan, hopefully it is feasible, is to do this in August of next year.  I want to just thank everyone who knew about this and kept it a secret for so long.  It took a lot of planning on Aaron's part and I was completely surprised and excited when I found out what he has been up to these past few months.  I love him so much and am so grateful to have such a wonderful loving man in my life.

Take care everyone.

Love, Kara

Day 2 Highlights

Day 2 was a whirl. We went to napa and toured the valley with Jay. He is working at Plumpjack winery  and it was really great seeing our old friend so unexpectedly. Jay was present when Aaron and I first met over two years ago. It was fun catching up. I stomped on the grapes like Lucy at the Grgich winery. Personally not a big fan of the wine but getting my feet dirty was fun. I got to make a souvenier t shirt with my feet prints. Then Aaron and I ended out the day at Chevys for a quick meal. I like their cookbook (thanks Jim) better than the restaurant. Nice relaxing, early night after that. I can't wait to see what Sunday has in store.